Greetings!
I'm Cyan Villarin, an iOS Engineer at UniFa, and I'm excited to guide you through setting up Xcode Cloud for your project. Along the way, I'll share some challenges I encountered and my thoughts on how Xcode Cloud compares to other systems.
Introduced by Apple in 2021, Xcode Cloud is a cloud-based CI/CD system designed to streamline developers' workflows. It is similar to Bitrise and Jenkins, except that this system is uniquely Apple-made, which is pretty cool. Personally, I found the setup process to be easy and straightforward. In this guide, I will be using one of my personal projects called MovieSearch. Let's get started!
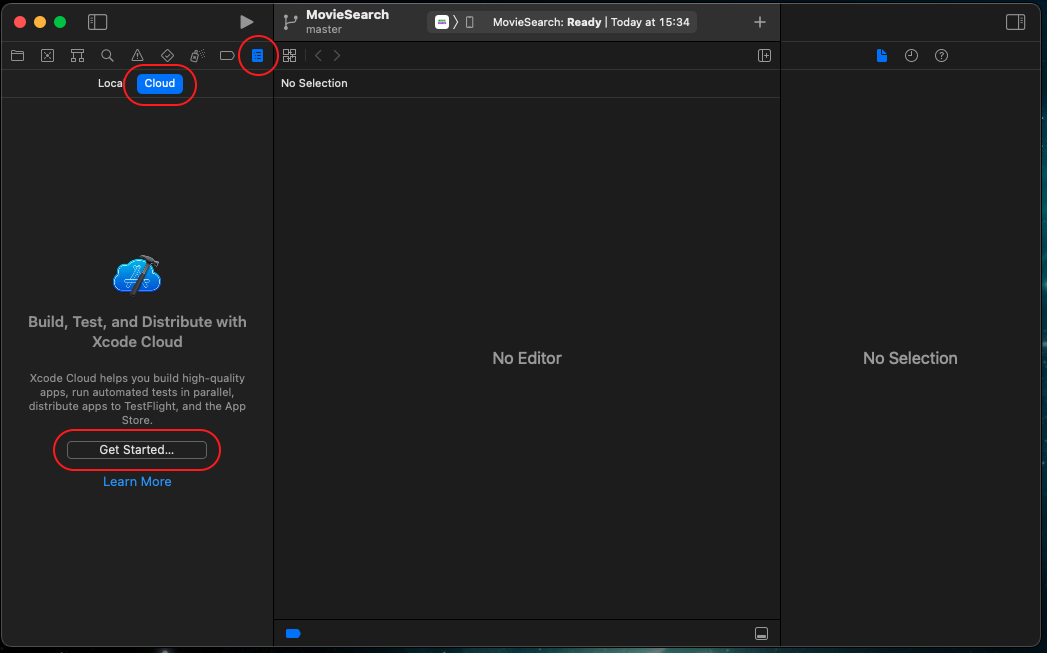
Firstly, open up your Xcode Project. On the left panel, click the right-most button called Show the Report navigator. Then, switch to the Cloud tab. And then click the Get started button there.
Now, when you get to this page, it's where you'll see the overview of a workflow. You can proceed with default values by clicking Next, but let's configure our workflow.
Let's click that Edit Workflow button.
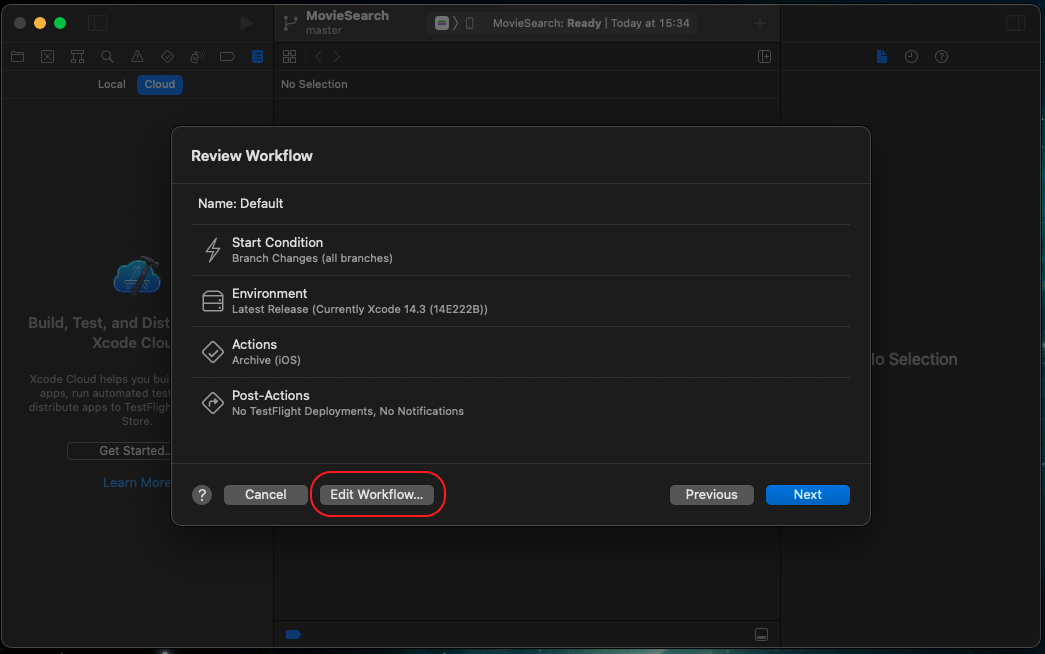
Doing so, you'll see this modal. It's where we'll be configuring our workflow.
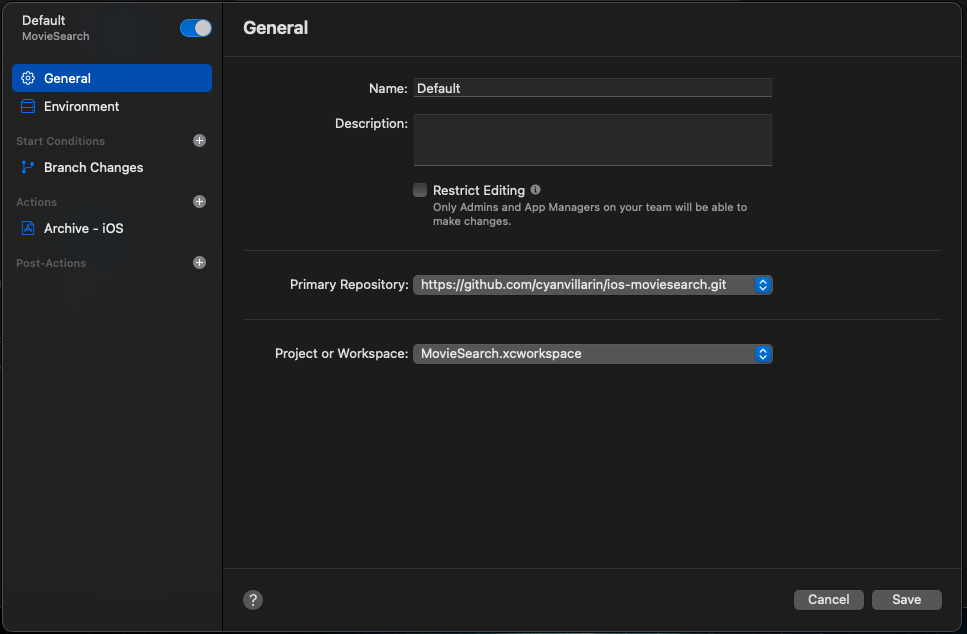
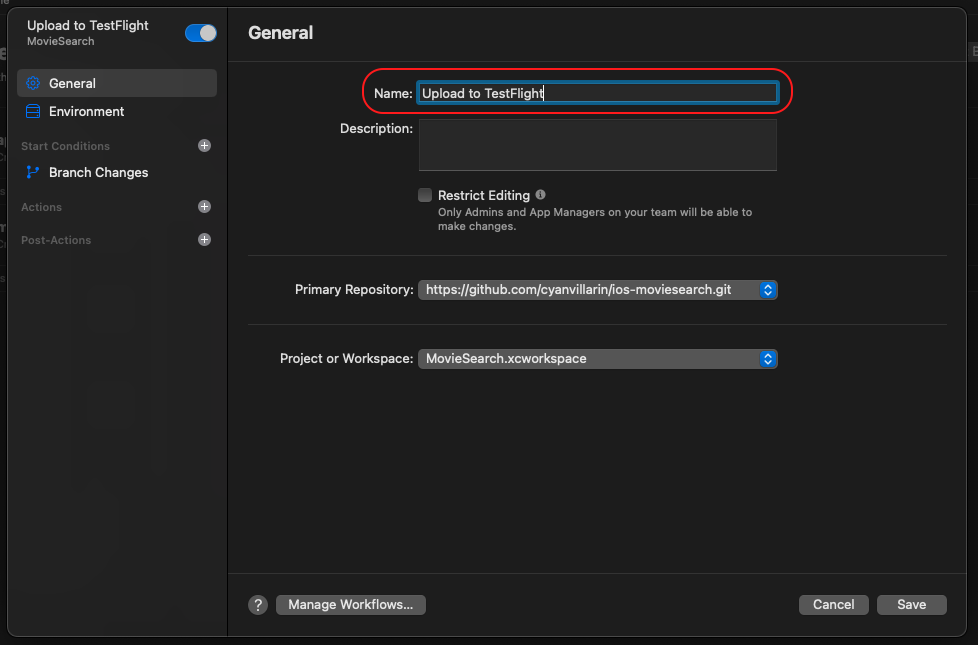
General
In this section, you can set the workflow's name, description, the git repository, and the project/workspace. We can proceed with the default set repository and project/workspace since I just have one for each of those.
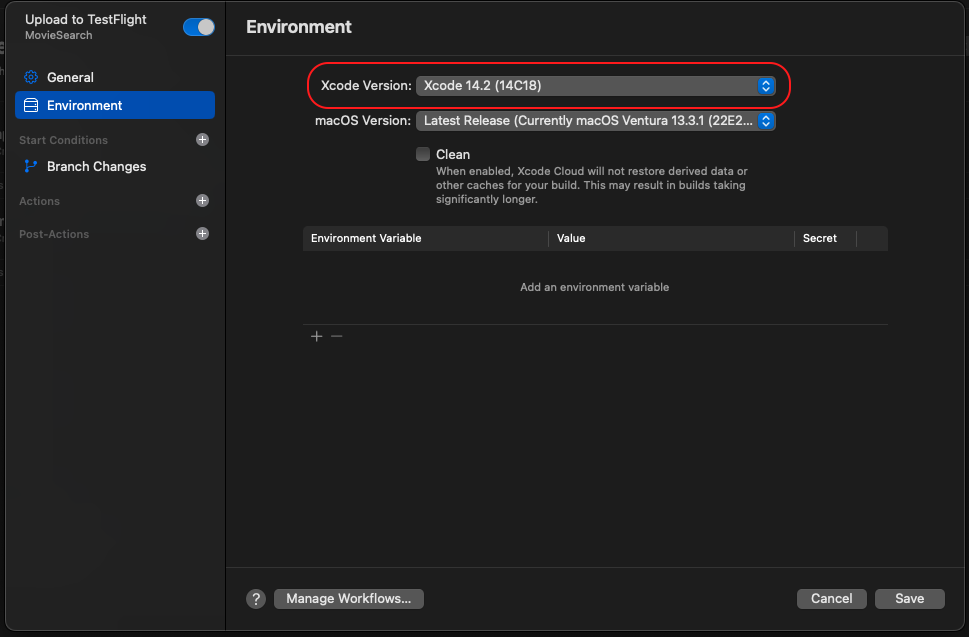
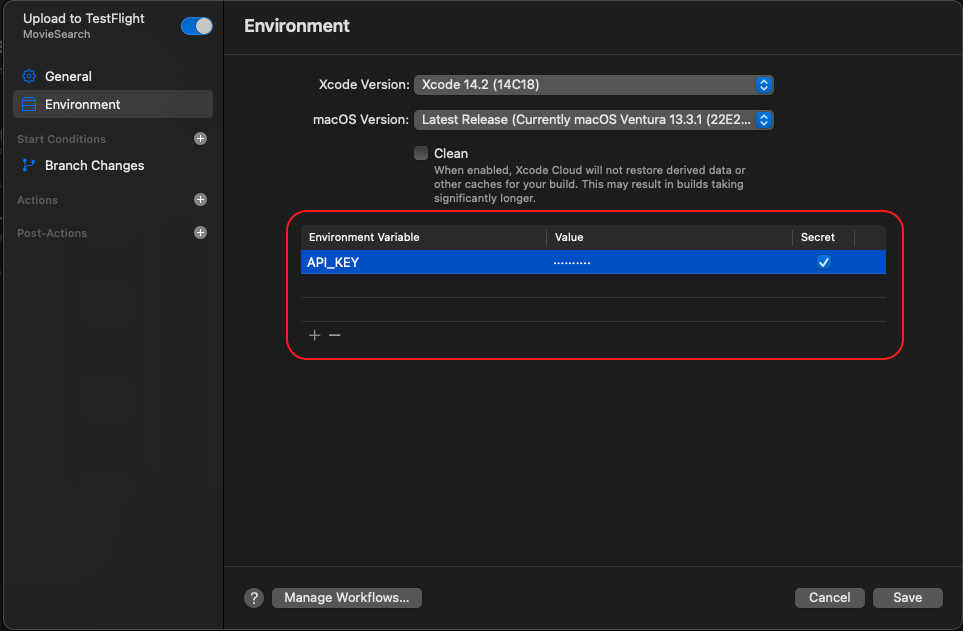
Environment
In this section, it's where we can set the Xcode and MacOS versions to be used for building/archiving our app, as well as we can set Environment Variables.
Start Conditions
Now, going into the Start Conditions section. This will be our trigger when our workflow will start running. By default, it is set with Branch Changes.
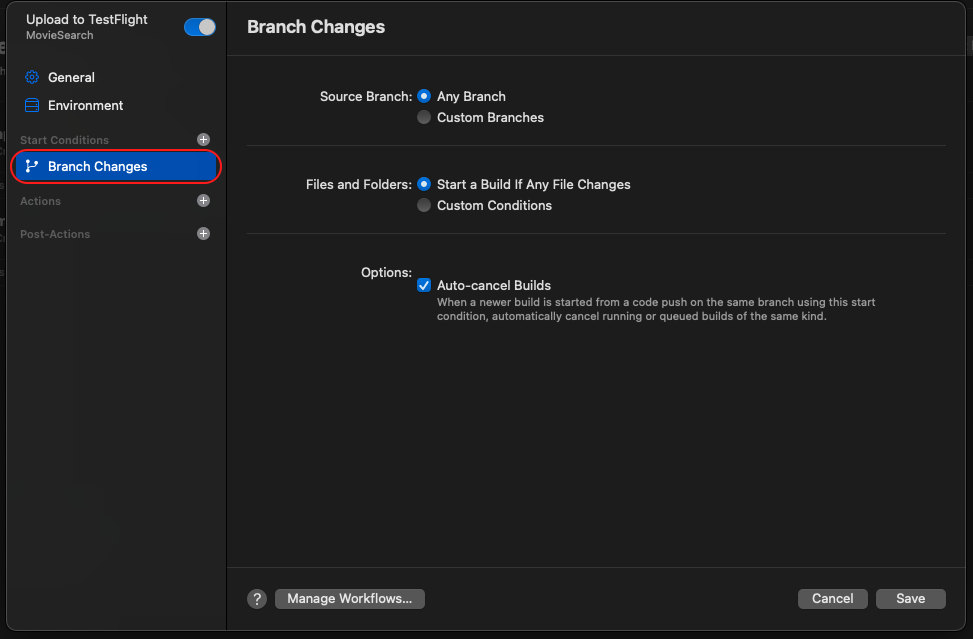
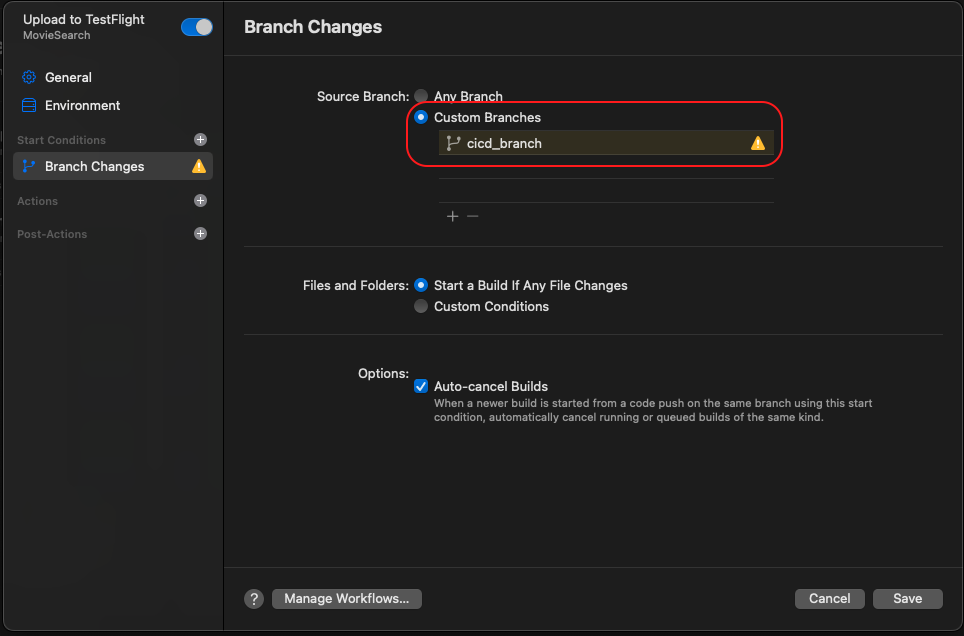
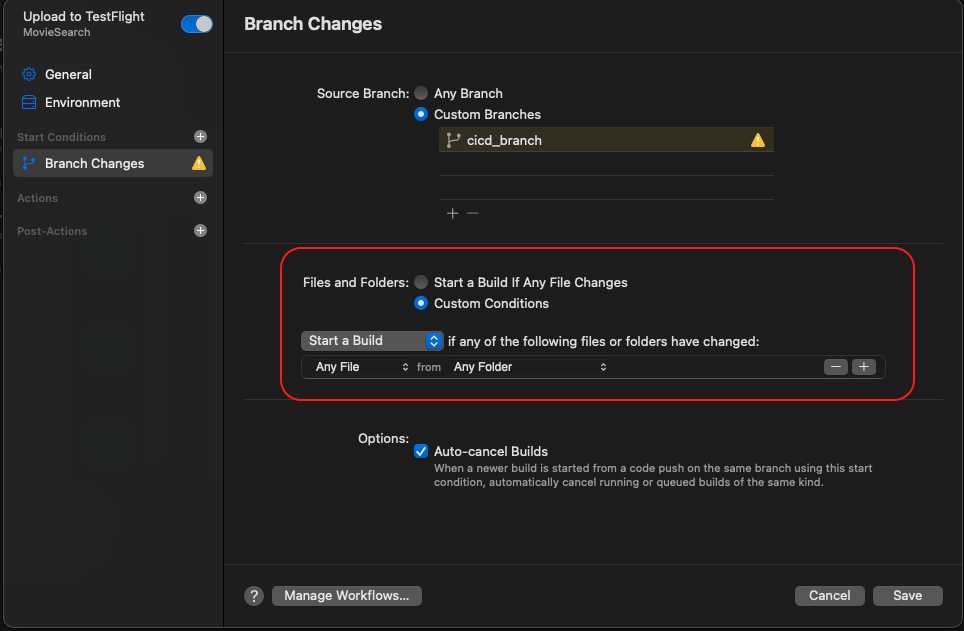
Branch Changes
Here, you can set which branch to listen into, which files/folders, as well as set some additional settings.
Pull Request Changes
Another one is Pull Request Changes. This is run when we create a PR, then whenever that PR satisfies our set conditions, our workflow will start running. You can add this by clicking the + button beside the Start Conditions text.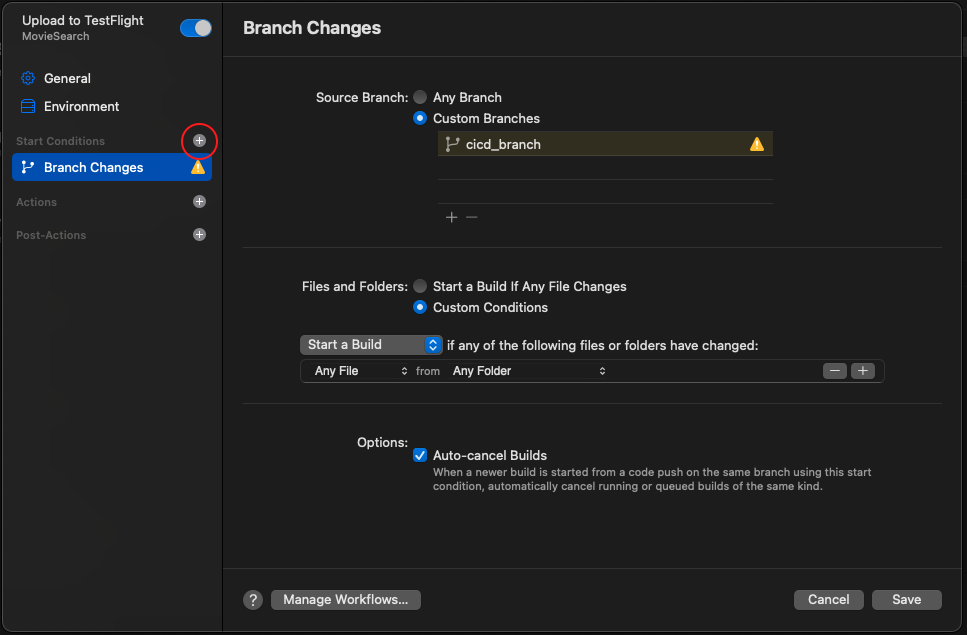

A use case I could think of with using the default settings is that whenever a PR is made, the Tests (be it UnitTests or UITests) will be run.
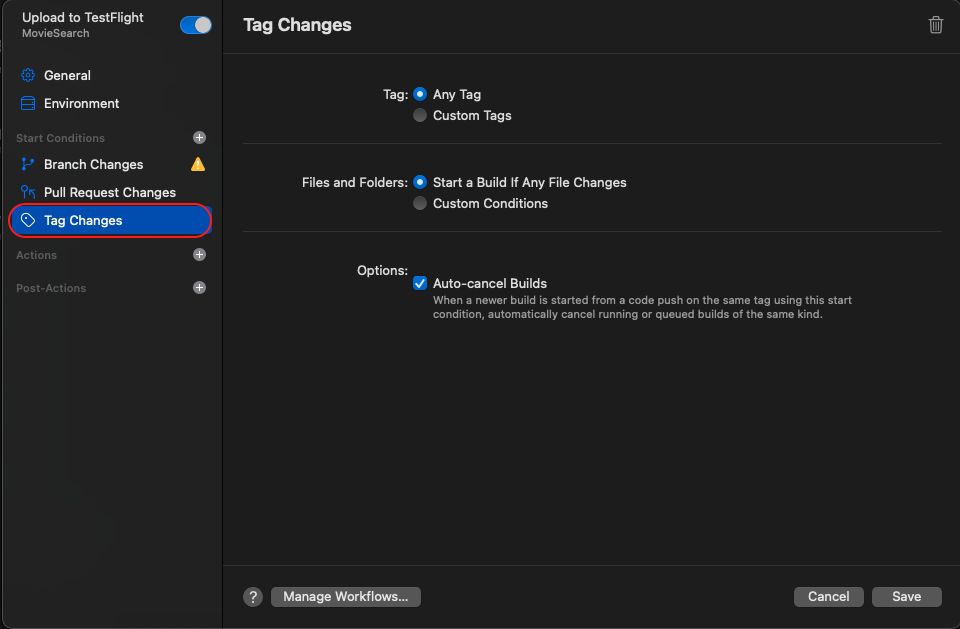
Tag Changes
For this one, it is when a tag is pushed, our workflow will start running. I think this Start Condition would be the most recommended for our goal this time. You can just add a tag to our commit, starting with a common phrase, then that would start our workflow.

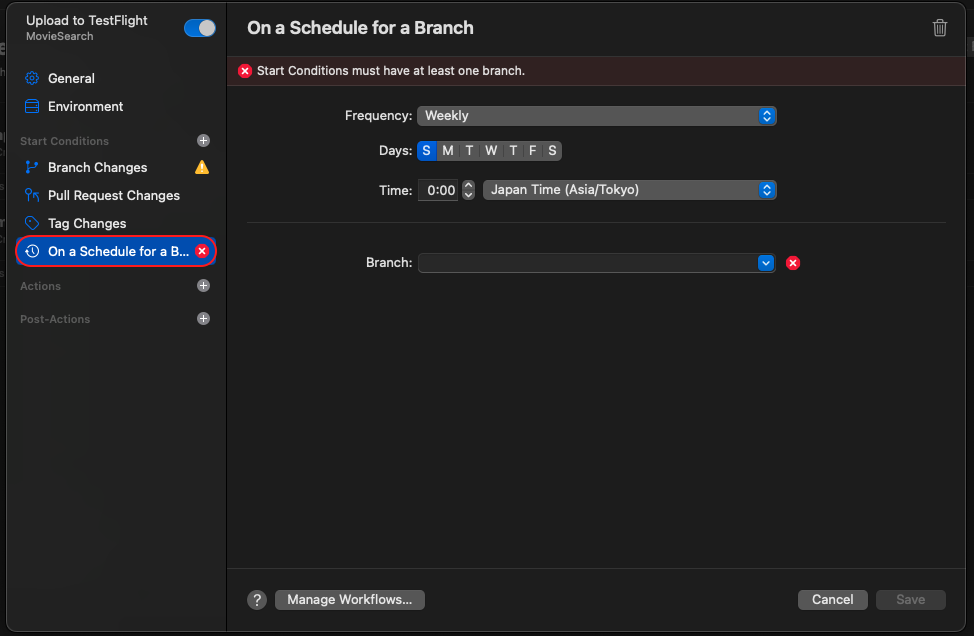
On a Schedule for a Branch
Lastly, this is the most interesting that I have found. Basically, our workflow will run on a schedule. A use case I could think of right now, is maybe a weekly Analysis of a development branch. With that, the team has an overview if the codebase is improving or not.
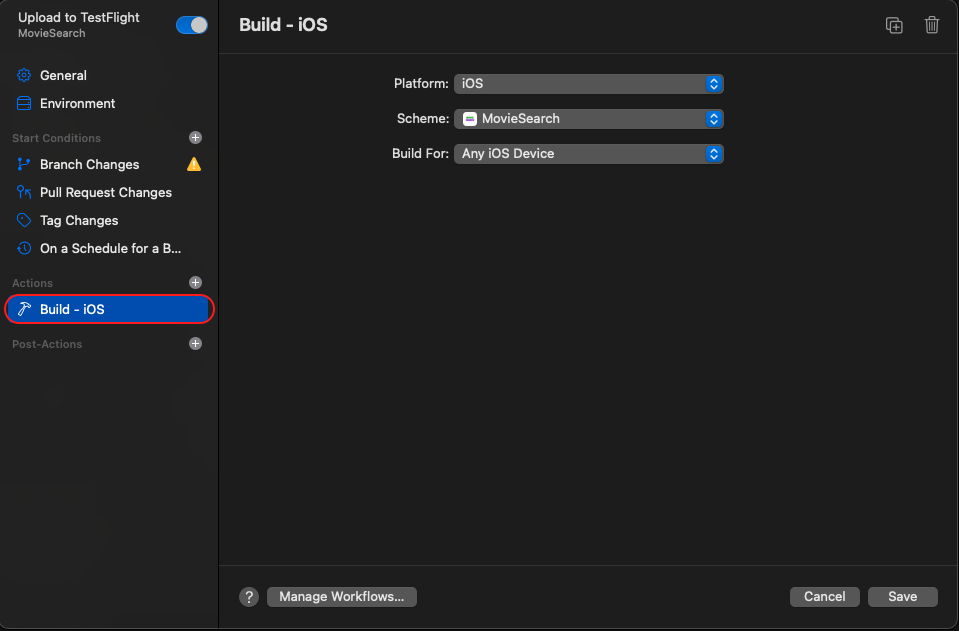
Actions
Now, lets go into the Actions section. Basically, these are the things that will be executed whenever our Start Conditions are satisfied. Similarly with Start Conditions, just click the + button beside the Actions text to see the possible Actions available.
Build
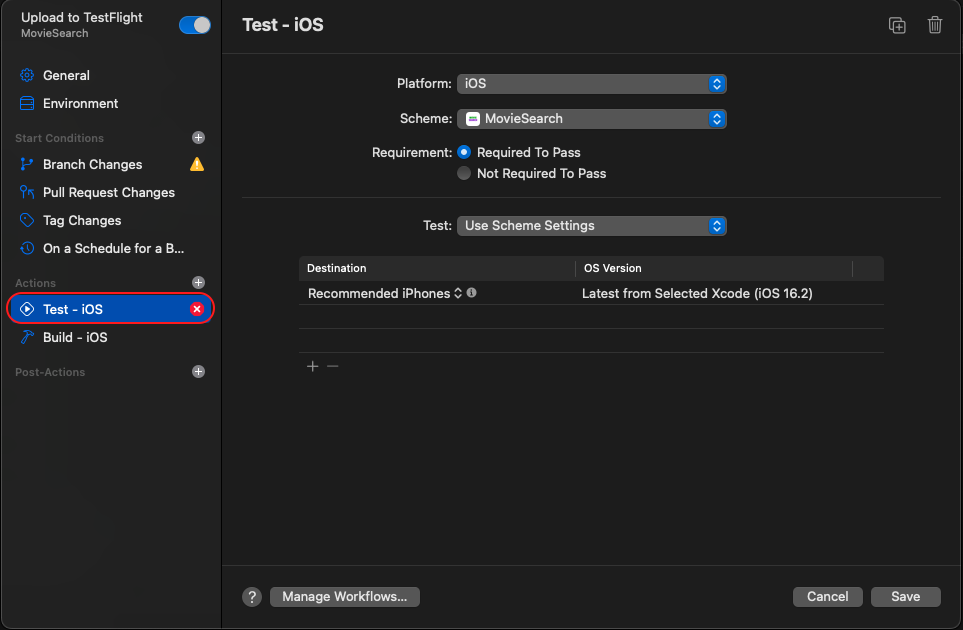
Test
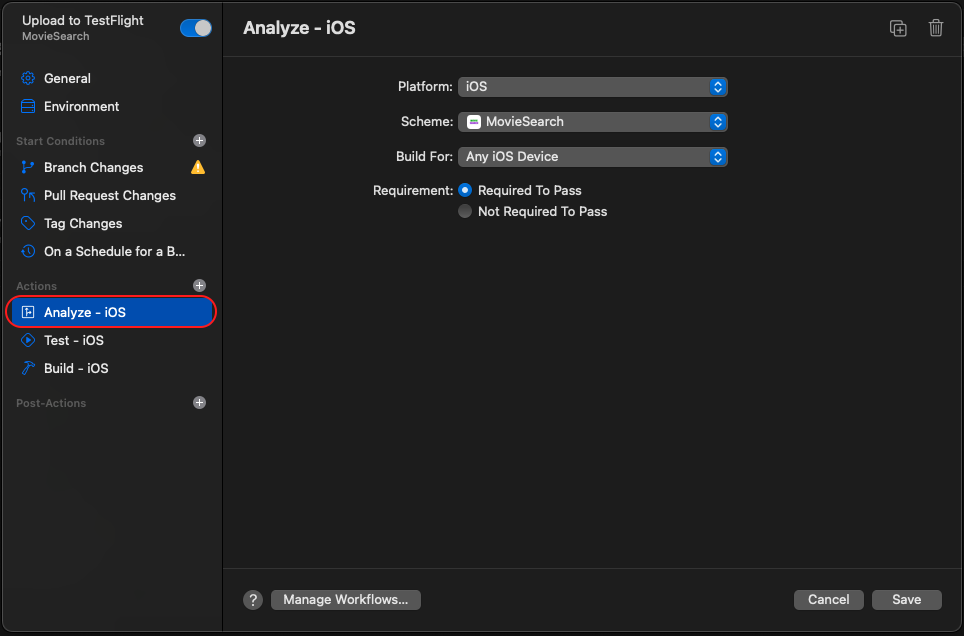
Analyze
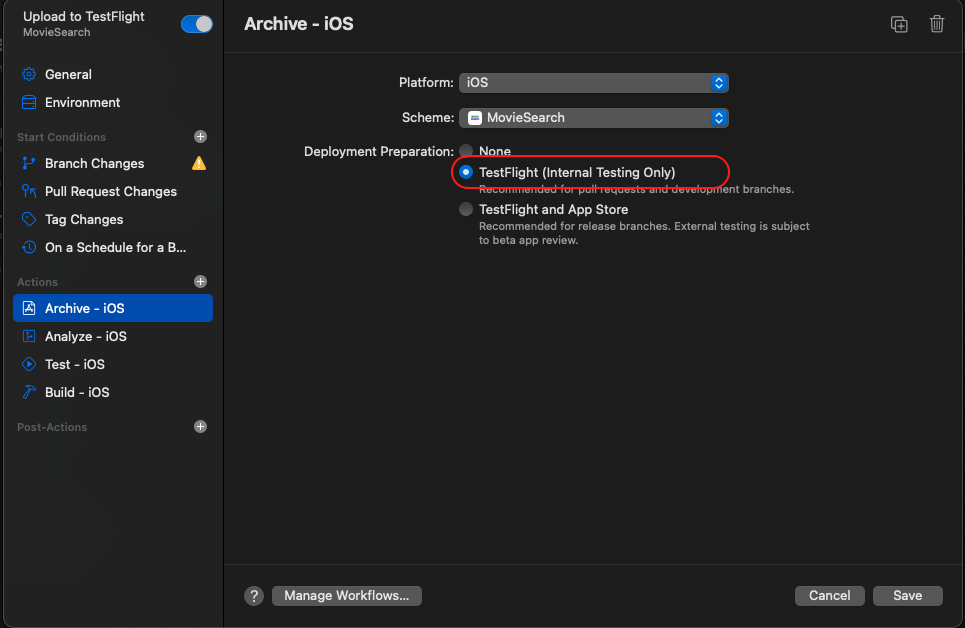
Archive
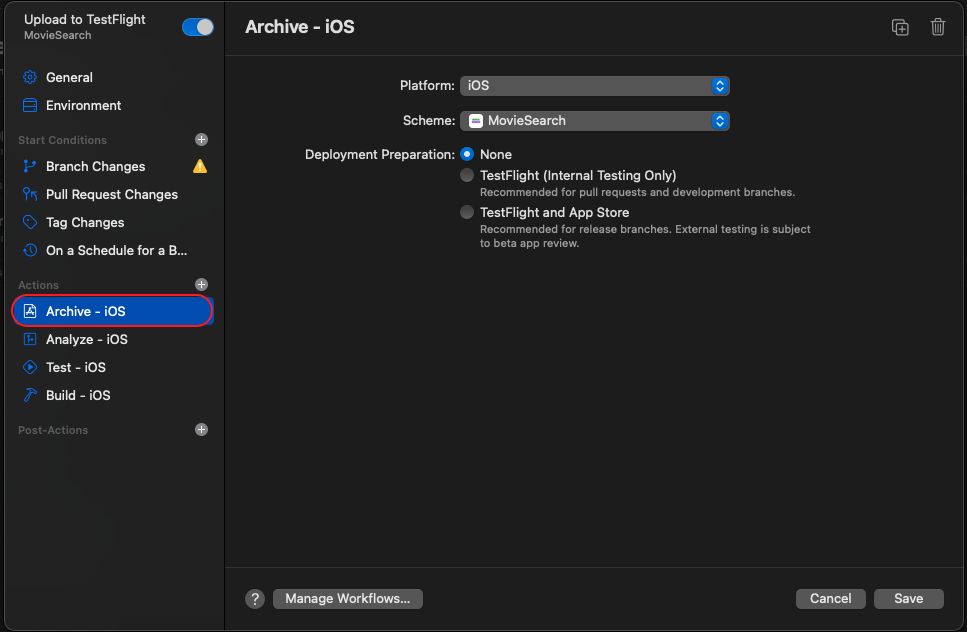
Post-Actions
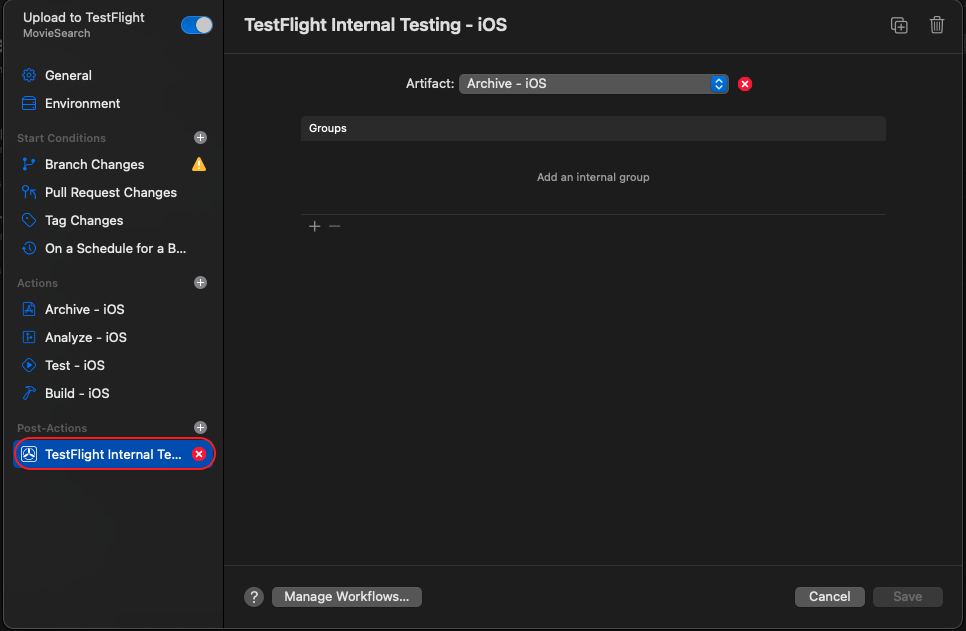
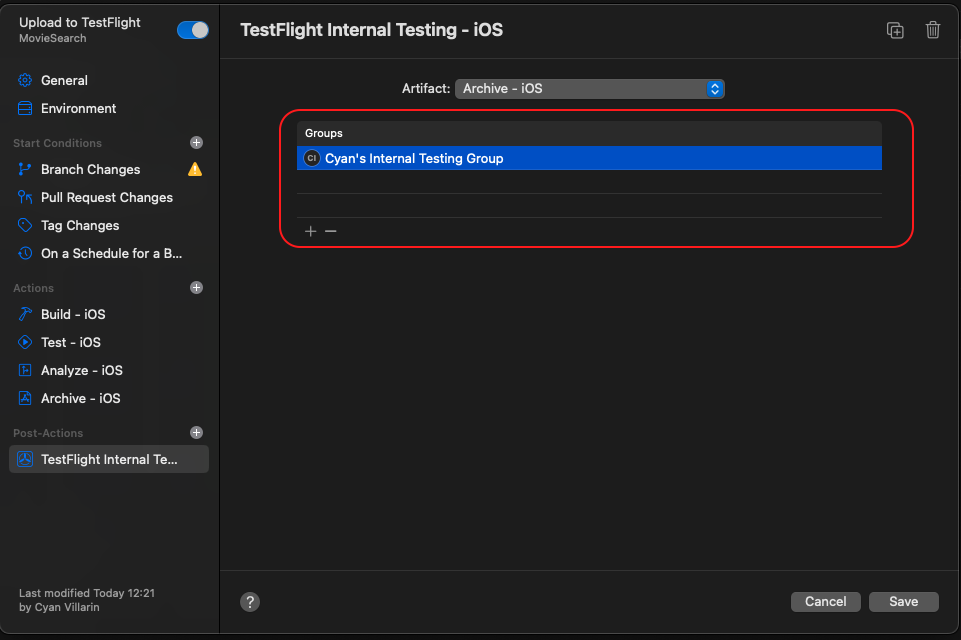
Lastly, on the Post-Actions section, these are the things to be performed after our Actions have been completed. Things like notification via email, as well as making the apps available for both Internal and External Testing.
Just hit Save, and we're good to go!
After setting up the Workflow Settings
Click Next, then you'll proceed with this screen. Just double check if you have access to your git.
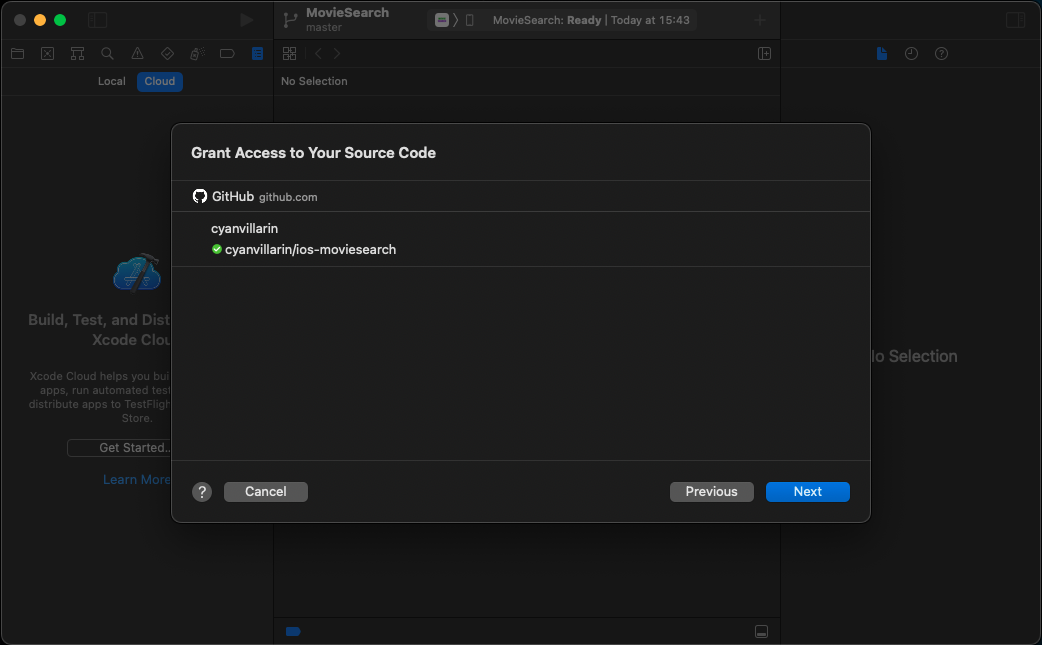
There will be a confirmation page, then just click Complete. Then you'll see our complete page!
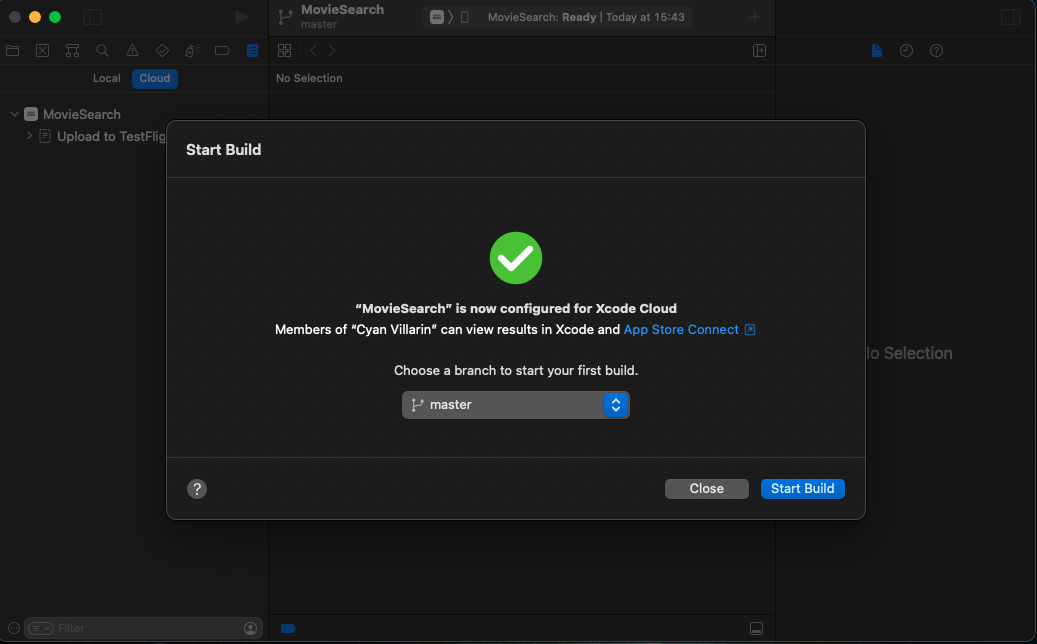
You could actually manually start builds on Xcode itself.
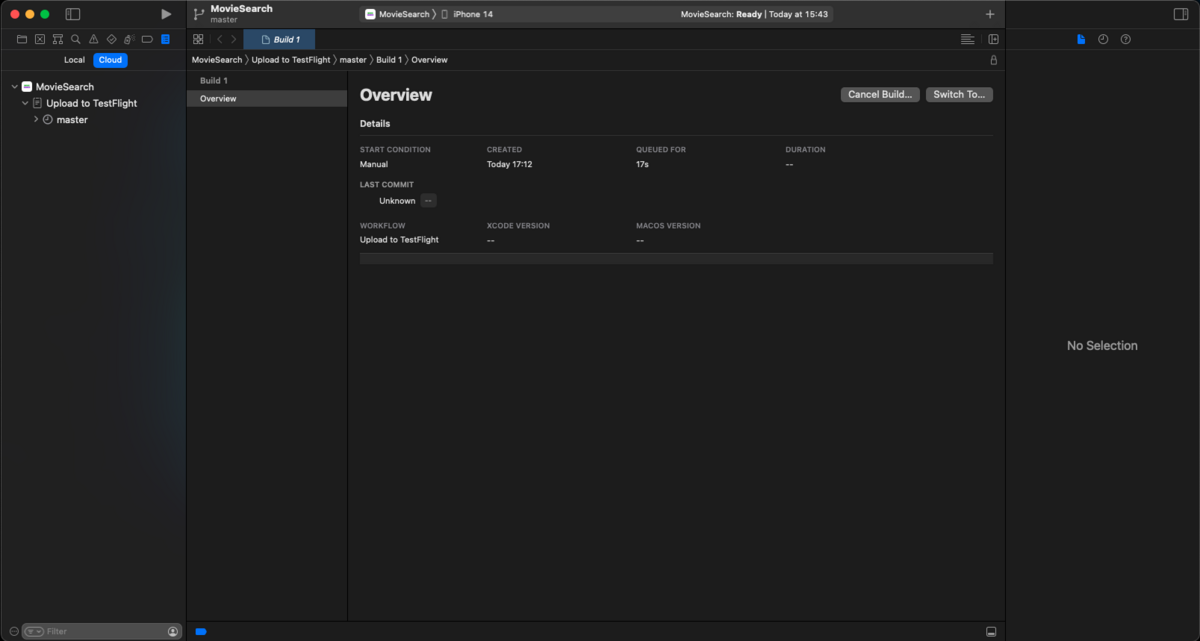
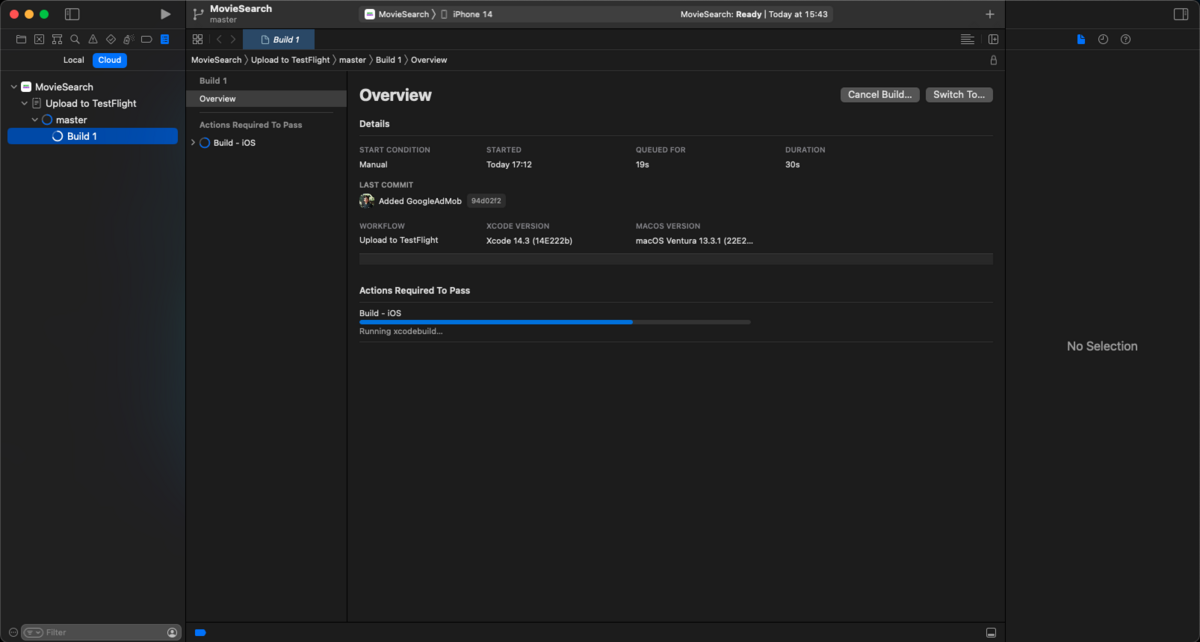
And you could see the progress here as well.
If you check out your App Store Connect page, your new workflow should reflect there as well.
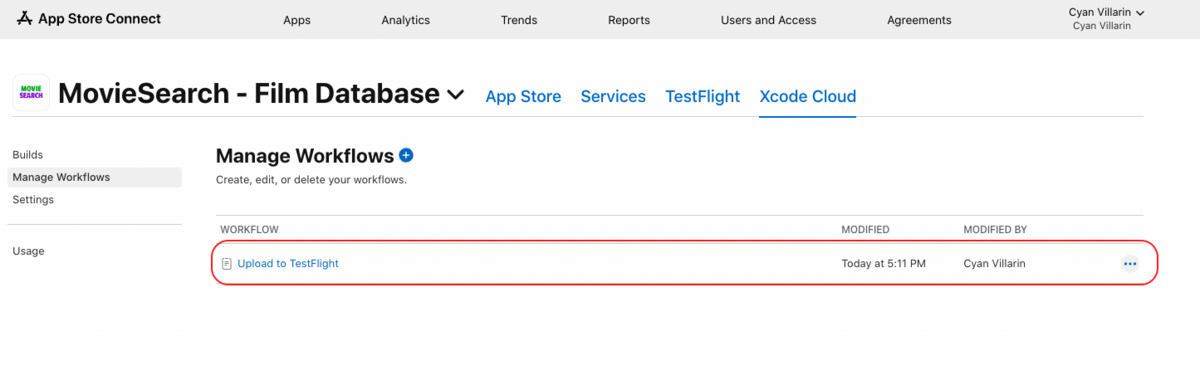
This is the workflow that was triggered manually a while ago.
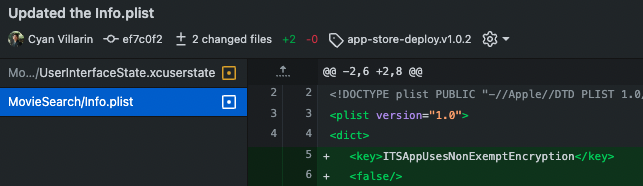
Before testing our workflow using a tag, there's one thing we need to address. It has come to my attention that when utilizing the Post-Action TestFlight Internal Testing feature, a flag needs to be set in the Info.plist.

To automate this step, you can add the following to your Info.plist:
<key>ITSAppUsesNonExemptEncryption</key>
<false/>
Commit that change. Then, let's try to run our workflow when using a tag.
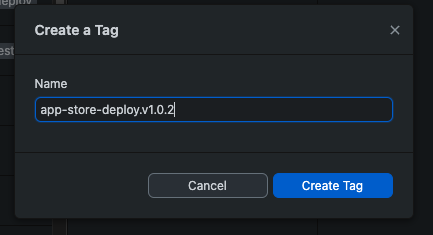
Then, let us add a tag starting with the phrase we set a while ago during setup.
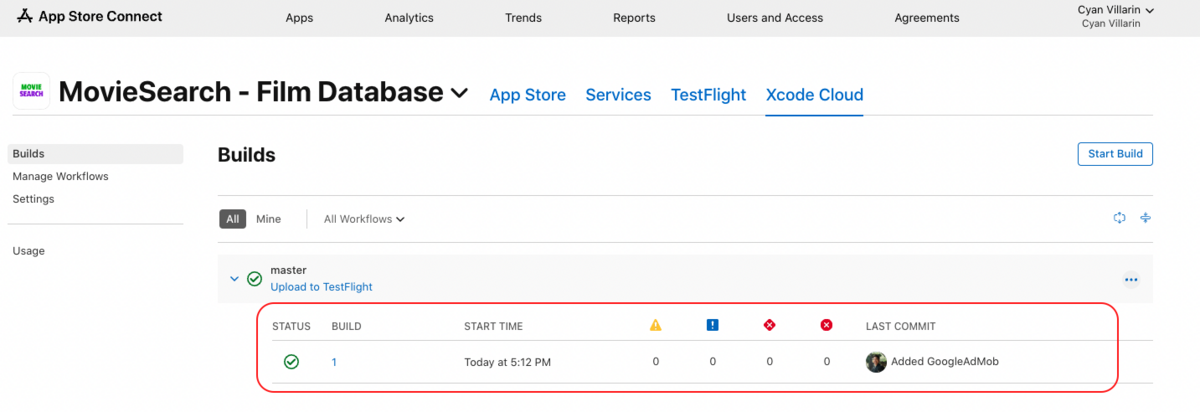
Oh nice, it is working properly! As you can see, our workflow has started from when we pushed our expected tag.

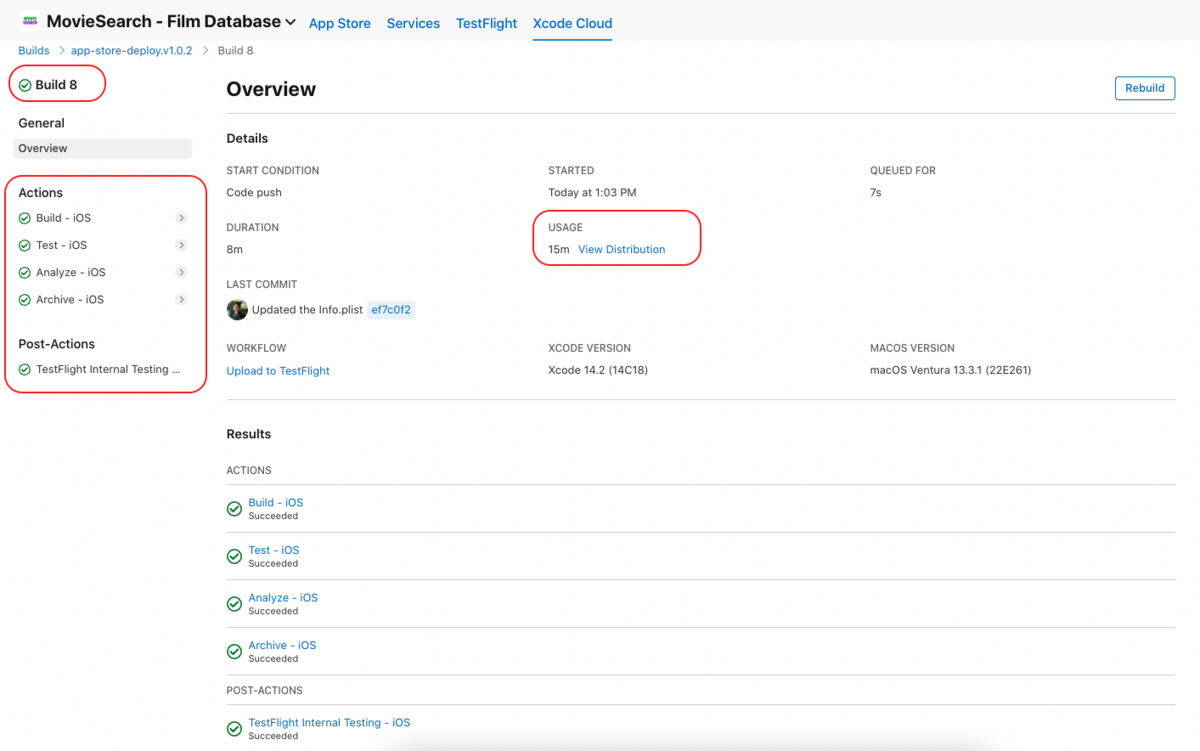
I waited for like 15 mins, and the workflow is finished.

Clicking the build number, we would see the details of the workflow performed.
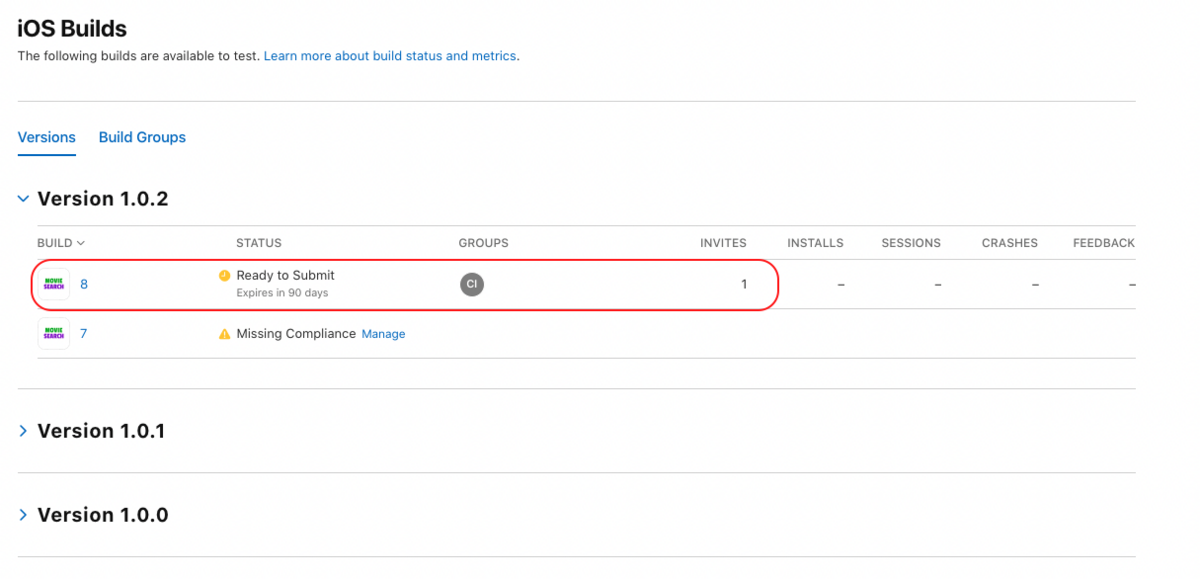
Now, let's check if it is in TestFlight now :)
Xcode Cloud appears to be a reliable choice for implementing a CICD solution for your project. While it may not offer all the features that Bitrise does, it fulfills our requirements. With continued development and improvements, Xcode Cloud could become the sole solution for our needs in the future.
However, during my implementation, I encountered some issues, such as errors when using the Post-Action TestFlight Internal Testing feature. There were no instructions regarding that matter on the popups during the workflow setup, so you can only know about it after you have built, then the workflow suddenly fails. But, if you have followed this guide, it's gonna be much more smoother.
That's it guys. Thank you so much for reading my blog post. Have a great one! :)
Cyan Villarin
Unifa is actively recruiting, please check our website for details: