Greetings!
I'm Cyan Villarin, an iOS Engineer at UniFa, and I'm excited to share to you some of the things I learned about the recent announcements from Apple this year.
Some cool stuff are introduced this year: Swift Data, Observation framework, and the String Catalog. And we're gonna try these things out and learn a few things :)
Let's get started!
SwiftData
SwiftData is a new framework for data modeling and persistence. I guess it's a new and improved CoreData, and it is designed specifically for SwiftUI.
The first thing to do is to add @Model as a class modifier to the class that we want to store into the SwiftData.
And of course, don't forget to add import SwiftData at the top.
Do note that, @Model only works on classes, and not on structs.
import Foundation
import SwiftData

@Model
class Message {
    let id: Int
    let content: String
    let type: MessageType
    init(id: Int, content: String, type: MessageType) {
        self.id = id
        self.content = content
        self.type = type
    }
}
For the MessageType, it is an enum so in order to be saved to SwiftData, we need it to conform to Codable.
enum MessageType: Int, Codable {
    case user = 0       // the person using the app
    case partner = 1    // the person the user is talking to
}
The next step is to add the .modelContainer to the WindowGroup.
import SwiftUI
import SwiftData

@main
struct TechBlogApp: App {
    var body: some Scene {
        WindowGroup {
            ContentView()
        }
        .modelContainer(for: Message.self)
    }
}
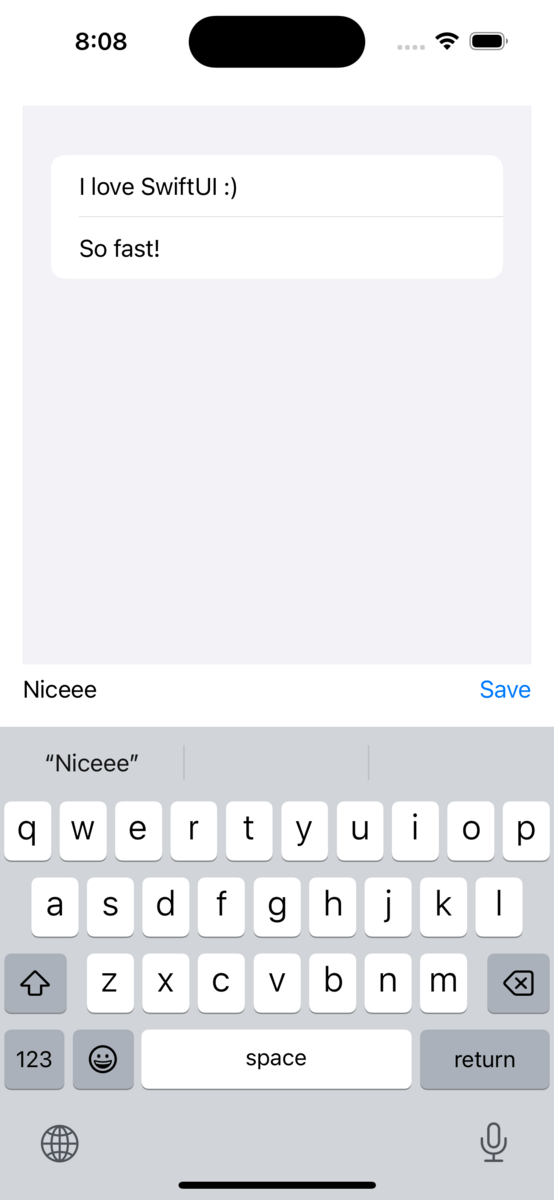
Now, since we have a Message class that can now be saved to SwiftData. Let's create a screen where we can add messages to the SwiftData. We'll just use the ContentView created by default.
import SwiftUI
import SwiftData

struct ContentView: View {

    @State private var inputText: String = ""

    @Environment(\.modelContext) private var context
    @Query private var messagesFromDb: [Message]

    var body: some View {
        VStack {
            List(messagesFromDb) { message in
                Text(message.content)
            }
            HStack {
                TextField("Input text here", text: $inputText)
                Button("Save", action: {
                    let messageObject = Message(
                        id: messagesFromDb.count,
                        content: inputText,
                        type: .user
                    )
                    context.insert(messageObject)
                })
            }
        }
        .padding()
    }
}
To explain some few things about the above-code:
- The
inputText, which is where we save the string we input on our input text field. This is tagged with@Statesince we update this thing inside our View. - The
modelContext, which is an interface to access data from the SwiftData storage. This is tagged with@Environmentsince this is accessible all throughout the app. - The
messagesFromDb, which will be our List containing our messages. This is tagged with@Querywhich means it comes from the SwiftData. - In order to access the messages from our SwiftData storage DB, just accessing the property tagged with
@Queryis enough. We put it inside the List so that it gets displayed in our List view. - In order to add a message to the SwiftData storage DB, just add the
context.insert(messageObject)
You can try this very simple code, and see that the messages are persisted onto the SwiftData DB. See how simple this is, compared to the complexity of CoreData, or RealmDB. I guess I will be using SwiftData from now on. Although, do note SwiftData is only available from iOS 17 only :)
Observation framework
Observation is a new framework, which just makes the syntax much lesser when compared to the usual @Published, ObservableObject, @StateObject combination.
Now in order to demonstrate this new framework, let me add a ViewModel to our view. Although, this version of ViewModel doesn't use the Observation framework.
import Foundation
class ContentViewModel: ObservableObject {
    @Published var shouldAddEmojis: Bool

    init(shouldAddEmojis: Bool) {
        self.shouldAddEmojis = shouldAddEmojis
    }

    func setFlagToTrue() {
        shouldAddEmojis = true
    }

    func setFlagToFalse() {
        shouldAddEmojis = false
    }
}
When we are not using the new Observation framework, we need to make the class that we want to observe conform to the ObservableObject protocol. In our example, it is the ContentViewModel.
In addition to that, we also need to add a property wrapper @Published to the property that we want to observe. In our example, it is the shouldAddEmojis property.
After we have added this ViewModel, we need to modify our View.
We need to add this as one of our properties in our View.
@StateObject var viewModel = ContentViewModel(shouldAddEmojis: false)
And we could add an additional button beside our Save button, that will update our ViewModel's observable property.
Button("Add Emojis", action: {
       viewModel.setFlagToTrue()
})
As well as, this modifier to our VStack.
.onChange(of: viewModel.shouldAddEmojis) {
            if viewModel.shouldAddEmojis {
                let messageWithEmojisObject = Message(
                    id: messagesFromDb.count,
                    content: "😁\(messagesFromDb.count)",
                    type: .user
                )
                context.insert(messageWithEmojisObject)
                viewModel.setFlagToFalse()
            }
        }
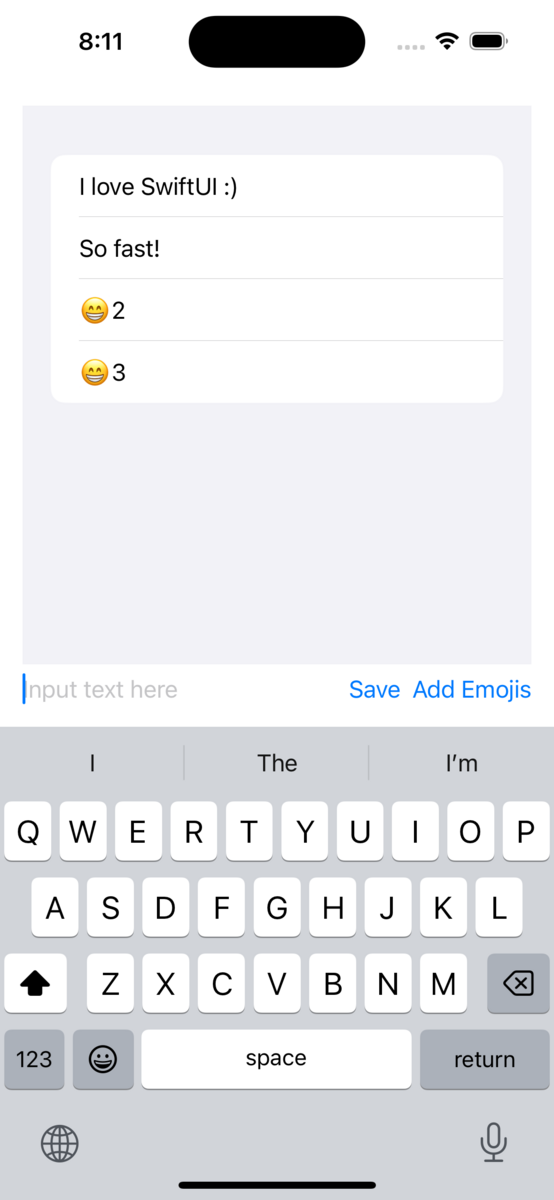
Now our View should look like this:
import SwiftUI
import SwiftData

struct ContentView: View {

    @State private var inputText: String = ""

    @Environment(\.modelContext) private var context
    @Query private var messagesFromDb: [Message]

    @StateObject var viewModel = ContentViewModel(shouldAddEmojis: false)

    var body: some View {
        VStack {
            List(messagesFromDb) { message in
                Text(message.content)
            }
            HStack {
                TextField("Input text here", text: $inputText)
                Button("Save", action: {
                    let messageObject = Message(
                        id: messagesFromDb.count,
                        content: inputText,
                        type: .user
                    )
                    context.insert(messageObject)
                })
                Button("Add Emojis", action: {
                    viewModel.setFlagToTrue()
                })
            }
        }
        .onChange(of: viewModel.shouldAddEmojis) {
            if viewModel.shouldAddEmojis {
                let messageWithEmojisObject = Message(
                    id: messagesFromDb.count,
                    content: "😁\(messagesFromDb.count)",
                    type: .user
                )
                context.insert(messageWithEmojisObject)
                viewModel.setFlagToFalse()
            }
        }
        .padding()
    }
}
If you run the app, when hitting the Add Emojis button, it should update the observable property of our ViewModel, and the .onChange block should be triggered on the View side.

So that is the way without using the new Observation framework.
If we want to use the new Observation framework, we just have to update a few things.
- On the ViewModel side, there is no need to make the class to be observed to conform to the
ObservableObjectprotocol. But instead, we need to add a macro@Observableon the class. - Additionally on the ViewModel's properties, we also don't need to use the
@Publishedproperty wrapper. Just make it apublicproperty, and we will be able to observe it from the View. - On the View side, the property that we were observing (in this example, the
viewModel) doesn't need to have the@StateObjectproperty wrapper. We can still observe this class since it has the@Observablemacro.
With the things mentioned above, our ViewModel should look like this:
import Foundation

@Observable
class ContentViewModel {
    var shouldAddEmojis: Bool

    init(shouldAddEmojis: Bool) {
        self.shouldAddEmojis = shouldAddEmojis
    }

    func setFlagToTrue() {
        shouldAddEmojis = true
    }

    func setFlagToFalse() {
        shouldAddEmojis = false
    }
}
And our View should look like this:
import SwiftUI
import SwiftData

struct ContentView: View {

    @State private var inputText: String = ""

    @Environment(\.modelContext) private var context
    @Query private var messagesFromDb: [Message]

    var viewModel = ContentViewModel(shouldAddEmojis: false)

    var body: some View {
        VStack {
            List(messagesFromDb) { message in
                Text(message.content)
            }
            HStack {
                TextField("Input text here", text: $inputText)
                Button("Save", action: {
                    let messageObject = Message(
                        id: messagesFromDb.count,
                        content: inputText,
                        type: .user
                    )
                    context.insert(messageObject)
                })
                Button("Add Emojis", action: {
                    viewModel.setFlagToTrue()
                })
            }
        }
        .onChange(of: viewModel.shouldAddEmojis) {
            if viewModel.shouldAddEmojis {
                let messageWithEmojisObject = Message(
                    id: messagesFromDb.count,
                    content: "😁\(messagesFromDb.count)",
                    type: .user
                )
                context.insert(messageWithEmojisObject)
                viewModel.setFlagToFalse()
            }
        }
        .padding()
    }
}
It should do the same thing, I just showed the difference when using the Observation framework. For me personally, I would rather use the one without the Observation framework, because at least on the ViewModel, I would be able to distinguish easily on which properties are to be observed, and which are not.
String Catalog
This is the new and improved version of Localizable Strings.
From the New File menu, you should be able to see String Catalog option.

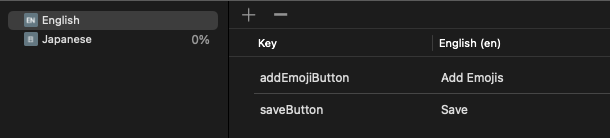
Add that and you should have a Localizable.xcstrings file and when you open it, it should look like this.
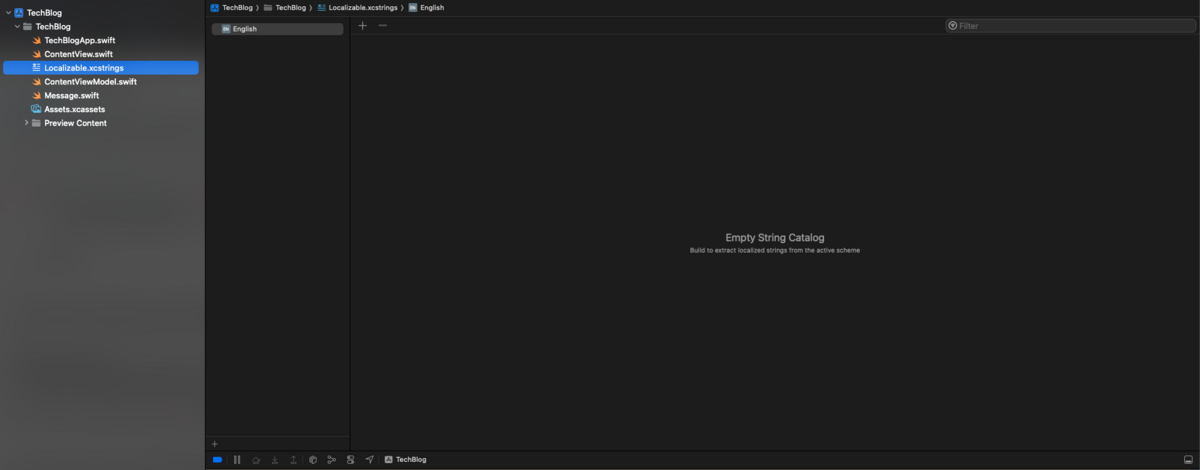
Notice that it is only showing English. It's because we haven't added an additional language to our project.
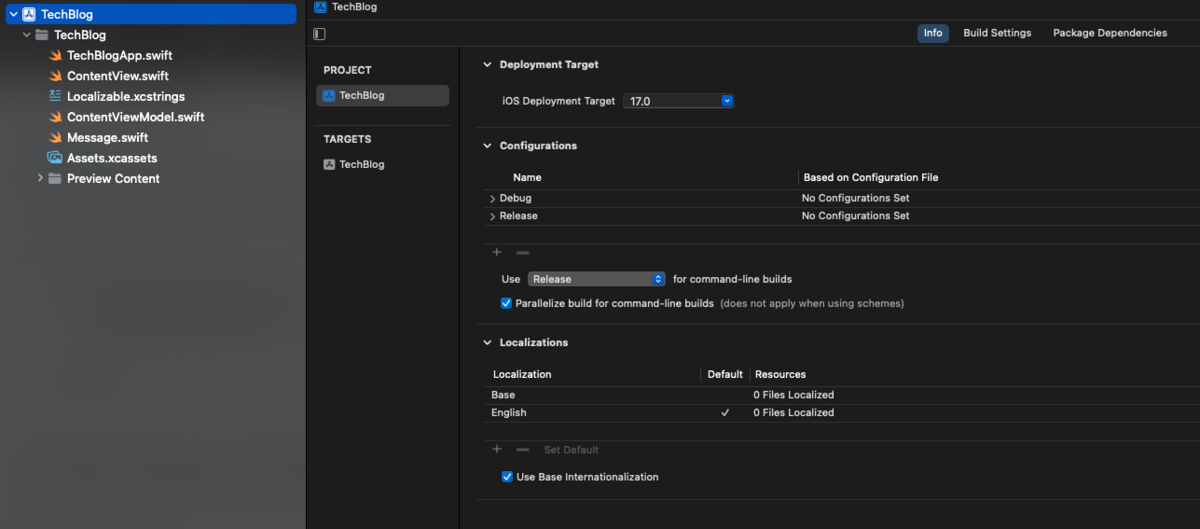
To do that, click your project from the File Navigator, and add a language from the Localizations tab. In our example, I will use the Japanese language.
Once you've added Japanese,
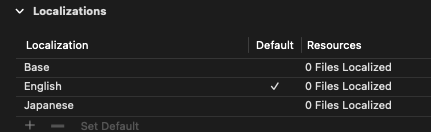
It should reflect on the Localizable.xcstrings
Now try adding some texts on our file. I will first add the English texts for our buttons Save and Add Emojis.
Now if we move to the Japanese part, we should see that the keys that we added on the English part, is automatically reflected on the Japanese part. How cool is that!

So we just have to type in the Japanese text.

If you have worked with Localized apps, you'd know that you have always have to match the keys that we use on all the languages. With a small feature like automatically adding keys, that is really helpful and I really liked it.
In order to use those Localizable string, just use this format
String(localized: "{key_here}")
String(localized: "saveButton")
String(localized: "addEmojiButton")
So, our Buttons should look like these:
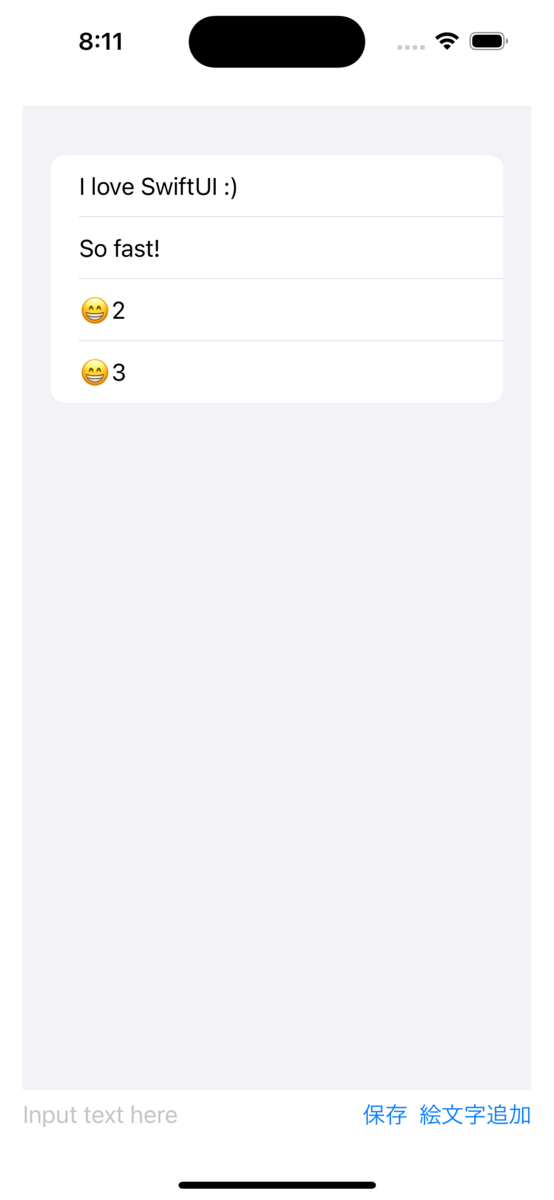
Button(String(localized: "saveButton")
Button(String(localized: "addEmojiButton")
You should be able to see that the button texts changes on both the English or Japanese versions.
When I learned about this String Catalog, I got excited to use it so from on, I'll be using String Catalog as well.
That's it guys. Thank you so much for reading my blog post. Have a great one! :)
Cyan Villarin
Unifa is actively recruiting, please check our website for details: