By Robin Dickson, software engineer at UniFa.
Because it's almost Christmas I thought I'd try out something new and make it Christmassy.
Zdog is a round, flat, designer-friendly pseudo-3D engine for canvas & SVG and some of the work being made with it is really inspiring. I wanted to see what I could make quickly as a non-designer with no experience in 3D.
A snowman is built from various parts so I thought it seemed like a good fit. Also I may have heard a song about building a snowman somewhere...

I used the Zdog documentation, tutorial and examples on the official Zdog website which is a fantastic source of information.
Setup
To use Zdog all you need is HTML, CSS and JavaScript. The HTML and CSS setup is very minimal.
<canvas class="zdog-canvas" width="400" height="400"></canvas>
.zdog-canvas {
  background: skyblue;
  cursor: move;
}
Making a Basic Snowman
The snowman is built using an Illustration object as the foundation for the illustration.
const illo = new Zdog.Illustration({
  element: '.zdog-canvas',
  zoom: 4,
  dragRotate: true
});
The first thing needed for a snowman is a body, which luckily is quicker in Zdog than real life. A sphere can be created using Shape and controlling the size with the stroke property.
let body = new Zdog.Shape({
  addTo: illo,
  stroke: 40,
  translate: { y: 5 },
  color: 'white'
});
The head shares properties with the body, and in Zdog items can be copied. So the body can be copied, and then certain properties overwritten.
let head = body.copy({
  stroke: 25, // make the head smaller than the body
  translate: { y: -25 }, // move it higher
})
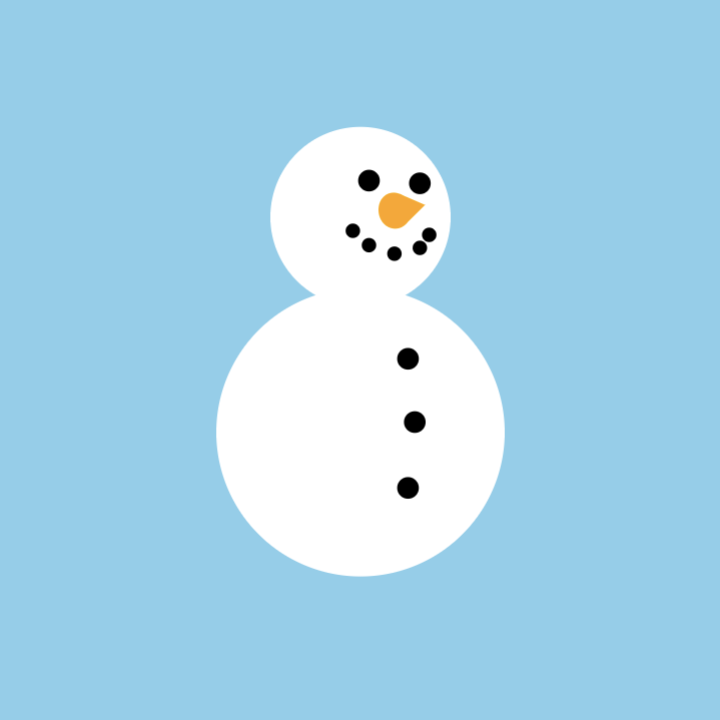
Now we have the basic snowman!

To make the face, the eyes and mouth are both made from coal so they can be copied.
Adding Details
let leftEye = new Zdog.Shape({
  addTo: head,
  stroke: 3,
  translate: { x: -4, y: -4, z: 10 },
  color: 'black',
  backface: false,
});
let rightEye = leftEye.copy({
  translate: { x: 4, y: -4, z: 10 }
})
Loops like forEach can be used to make the code more concise.
let mouth = new Zdog.Shape({
  addTo: head,
  stroke: 2,
  translate: { x: 0, y: 6, z: 10 },
  color: 'black',
  backface: false,
});

[[-6, 3, 9], [-4, 5, 10], [4, 5, 10], [6, 3, 9]].forEach(coal => mouth.copy(
  { translate: { x: coal[0], y: coal[1], z: coal[2] } }
))
Next a carrot for the nose which can be a cone shape.
let nose = new Zdog.Cone({
  addTo: head,
  diameter: 5,
  length: 9,
  translate: { x: 0, y: 0, z: 10 },
  stroke: false,
  color: 'orange'
});
Coal buttons were added in the same way as the eyes and mouth.

The arms were the most difficult part so far. The base branch was created using a Shape item. Then copied for the smaller branches.
let arm = new Zdog.Shape({
  addTo: body,
  color: 'brown',
  stroke: 2,
  path: [ { x: 0, y: 0 }, { x: 12, y: -10 } ],
  translate: { x: 18, y: -8 },
});
let finger = arm.copy({
  addTo: arm,
  path: [ { x: 0, y: 0 }, { x: 3, y: -7 } ],
  translate: { x: 5, y: -5 },
  stroke: 1.5
});
finger.copy({
  path: [ { x: 0, y: 0 }, { x: 7, y: 0 } ],
  translate: { x: 3, y: -2 }
})
For the other arm the copyGraph function can be used to copy the arm item and the attached items. So all that is needed is to move it into place an rotate it.
arm.copyGraph({
  translate: { x: -18, y: -8 },
  rotate: { y: Zdog.TAU/2 }
})
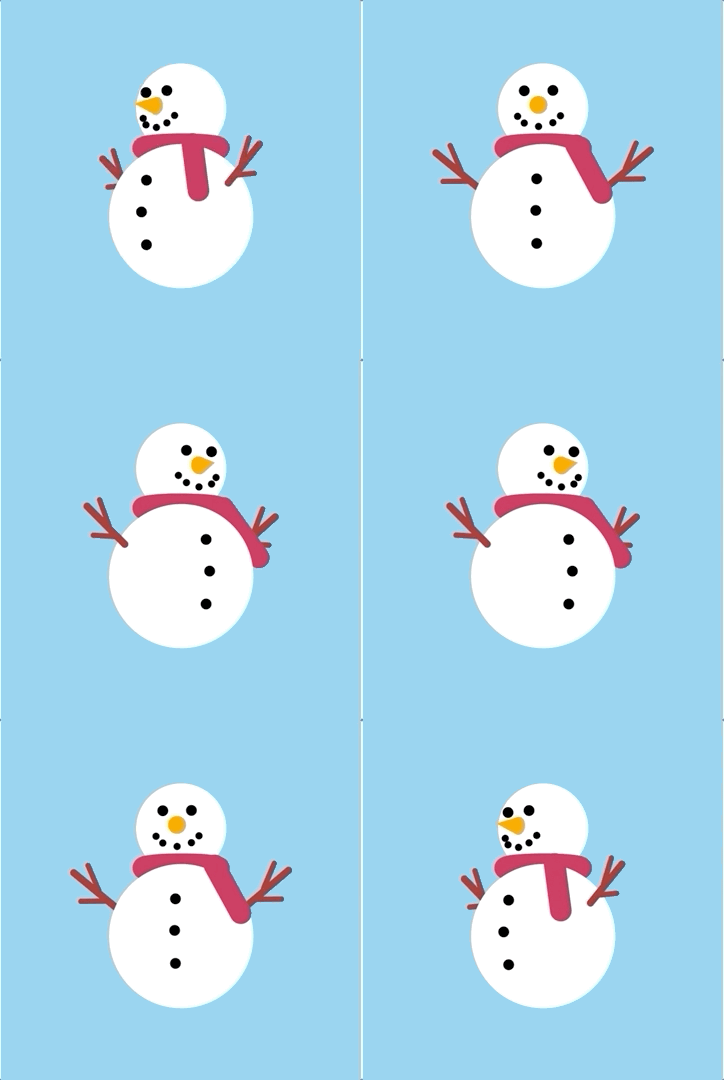
A scarf was added and the snowman is complete!
Animation
It's also possible to add animations to Zdog creations so I added a little inspired by the many demos on the official website.
let isSpinning = true;
let direction = 'right'
function animate() {
  if (illo.rotate.y < -1) { direction = 'left' }
  if (illo.rotate.y > 1) { direction = 'right' }
  if (isSpinning && direction === 'right') {
    illo.rotate.y += -0.005;
  } else if (isSpinning && direction === 'left') {
    illo.rotate.y -= -0.005;
  }
  illo.updateRenderGraph();
  requestAnimationFrame( animate );
}

animate();

Overall it was easy to get started due to the great documentation and examples and I am looking forward to trying to make more complex designs.