By Matthew Millar Research Scientist at ユニファ
Purpose:
This blog will be the initial start of an IoT project for computer vision. The final goal will be to locate an individual and to track this individual to see where they are in a room and to tell if they go near a marked area in the room. This will involve; person detection, tracking, and distance measurements from a Raspberry Pi.
B+ is No Longer an OK Grade:
This blog will focus on setting up the raspberry-pi 3B+. This was chosen as the specs were quite good; running a quad-core 64-bit Cortex-A53 processor at 1.4GHz along with dual-band 2.4/5GHz 802.11b/g/n/ac Wi-Fi and Bluetooth 4.2, network connections. This makes it ideal for IoT systems and edge devices. We will not have to add Bluetooth or Wi-Fi adapters to make it connectable in the future which saves time and money (as well as experimentation on it as the network won't work the first round). Pi has an Ethernet port that can serve as an access point but making it Wi-Fi access is a huge bonus as there will be fewer wires that will have to run into the device and thus increases the mobility of the device. One nice addition is that the B+ model ships with a modular compliance certification for the dual-band Wi-Fi which makes it easier to get a product up and running as you will not have to get a full Wi-Fi certification anymore. Another solid point for the B+ is that it comes with 5GHz Wi-Fi which is quickly becoming the IoT standard. The 2.4GHz is starting to become linked to legacy systems.
Pi’s OS:
There are several operating systems for the RPi. Raspbian OS is the which is considered one of the best options for RPi 3 as it is the official OS. It is a very lightweight OS that is perfect for the smaller chip, is specifically designed for the RPI, has a very good community and easy to find resources, and most importantly is Linux based. The second most popular OS for the Pi is Windows 10 IoT Core. This OS is very good at programming. This is a slimmed-down version of Windows 10 and is well suited for quick prototyping connected devices, good for robots and other automated systems, web server like applications are best suited on this OS.
Step one the Setup the edge device.
Let's get the device all connected.
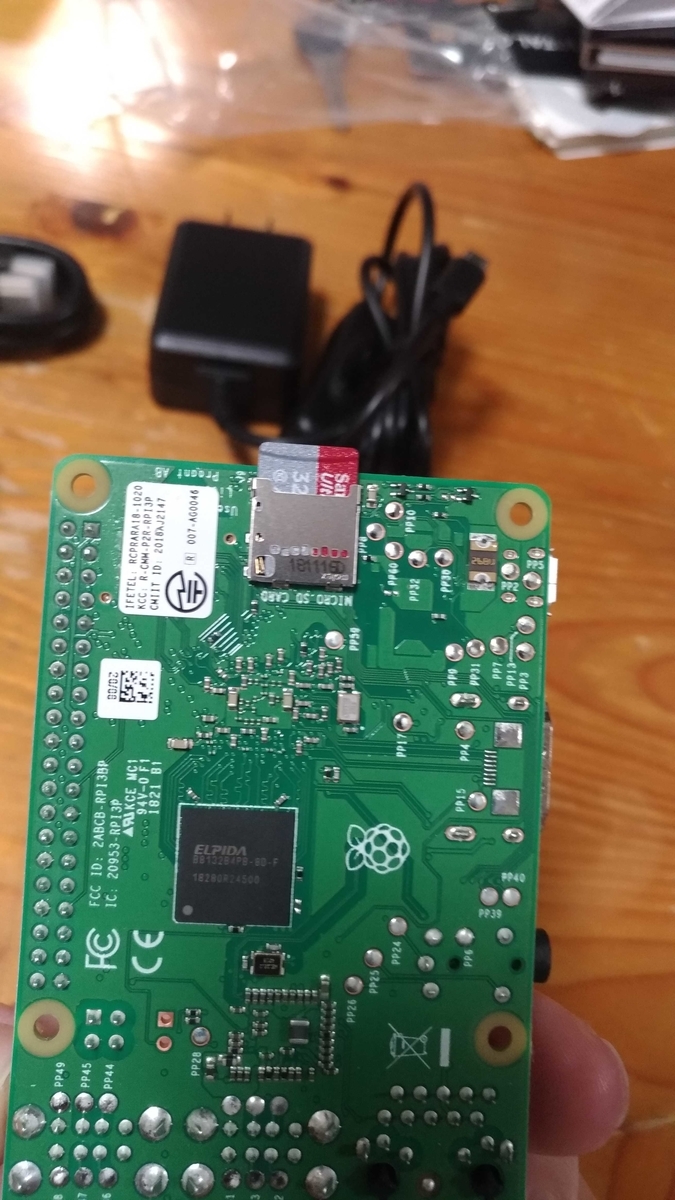
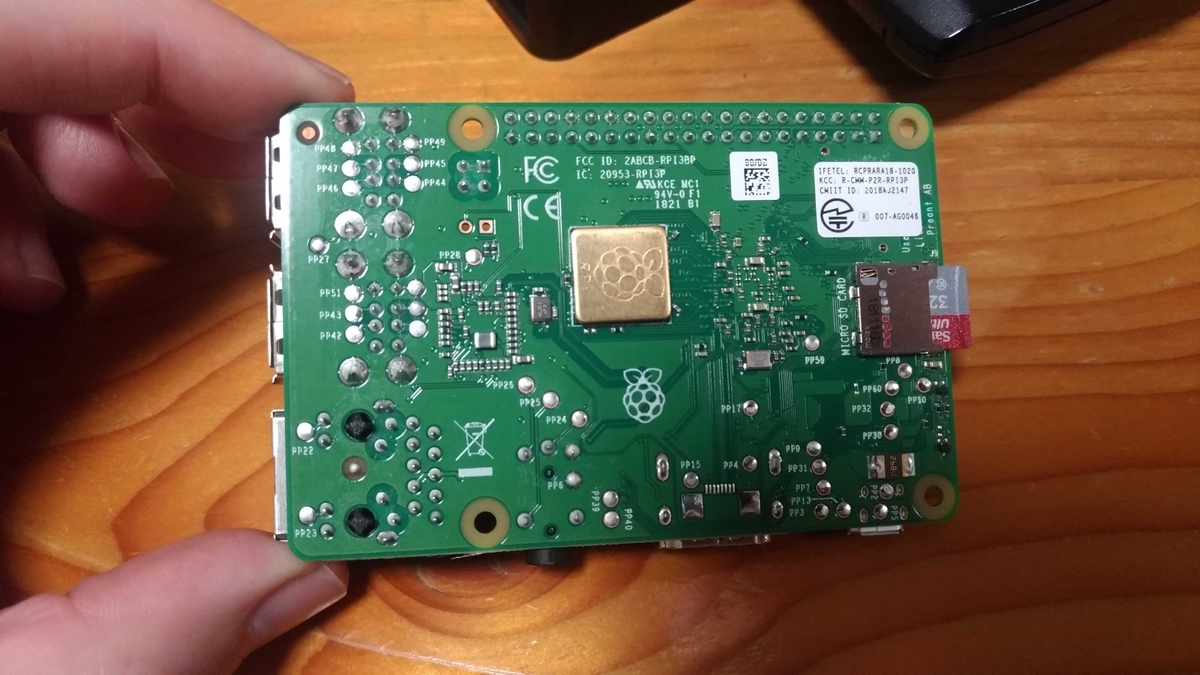
First, we will use an RPi B+ Model which is ideal for IoT edge devices.

Let's see what is all inside this kit.

Now we need an OS.
To install Raspbian OS most recommend NOOBS (New Out Of the Box Software) which is one of the simplest methods to install an OS on the Pi.
First go to https://www.raspberrypi.org/downloads/noobs/ and download NOOBS (not NOOBS Lite).
Next re-format the SD card and chose FAT32 as the format.
Next Unzip the NOOBS zip file and copy and paste all the files in the folder to the SD card.
Then insert the SD card into the RPI.

The Pi can get very hot so we need to put heat sinks on the CPU to keep it from overheating and breaking. There are two that should be used at the minimum. One on the front and one on the back.


With these safety measures installed we can move on to the next step. NOTE: if you want to use a lot of network connectivity, I would put a heat sink on that chip as well.
Now we have to assemble it and get it ready to run.

Put the Pi into the provided case for its protection.

Plug in the Mouse and Keyboard
Plug in the HDMI Cable
Then connect the Power Supply.
Now when you turn on the Pi you can install Rasbian OS onto it.

Then Select Raspbian and click install.


This will install the OS onto the Pi. The Pie should now boot with this OS system.
Like all OS systems, there is the initial set up so just follow on onscreen instruction. One note for language support. If you chose English then your keyboard will be an American layout which is kind of a bother when you have a Japanese keyboard.

After this, you should have a setup which now is like a little desktop computer complete with an operating GUI much like that of a Linux UI. Raspbian is a Debian based OS system so it will behave just like any Linux system that is Debian based.
From here you will have to install python 3 and other Deep learning libraries. This can be a bit tricky but will behave very similar to doing it on Linux. With the benefit of using a B+ Model, we do not need an external Wi-Fi adapter as the network chip is already installed on the board. This will save us having to get an Ethernet cable and physically connecting to a LAN. But for now good job.
Oh and for those who are curious my favorite type of pie is pumpkin pie a stable for Christmas.